
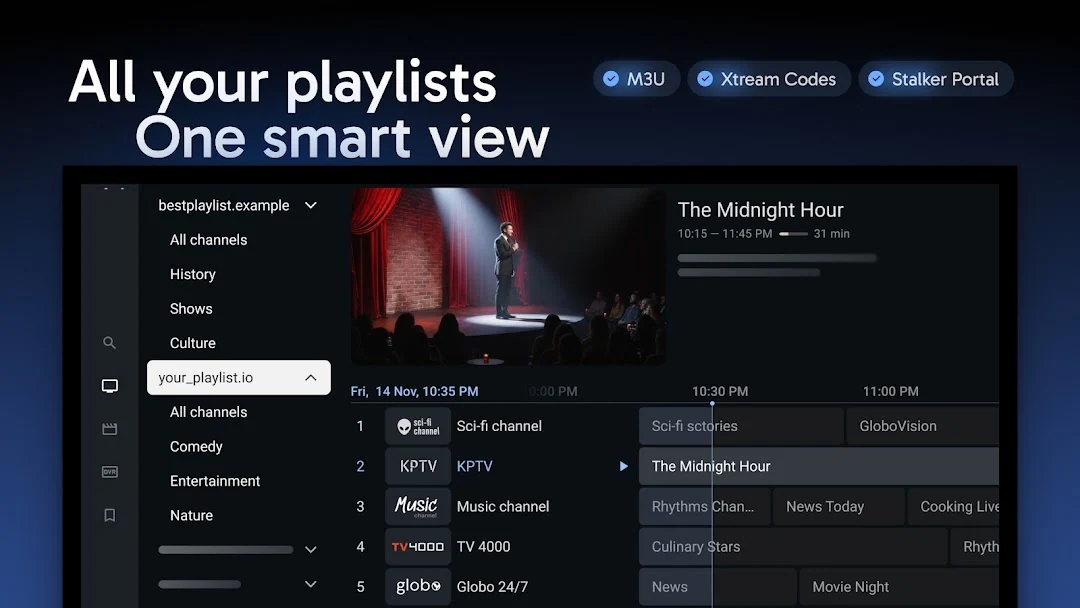
Players & apps
TiviMate on the living-room remote
Look up TiviMate from the Android TV itself. Its publisher designs the player for a television and remote. Check the publisher before entering a playlist.
IPTV Blogs / Field desk
Where should I install TiviMate for its intended interface? Look up TiviMate from the Android TV itself. Its publisher designs the player for a television and remote. Check the publisher before entering a playlist.
Look up TiviMate from the Android TV itself. Its publisher designs the player for a television and remote. Check the publisher before entering a playlist.
Give each authorised playlist a distinct, recognisable name. Return to the guide and check which playlist contains the working version.
Use TiviMate’s search with a distinctive word from the title. Compare the channel and start time on the result before opening it.
Open a second authorised stream only if the provider allows simultaneous playback. The player’s Multiview feature and the service’s connection limit are separate checks.
Select an earlier listing on a channel your provider explicitly archives. Compare that result with live playback on the same channel.
Premium unlocks player features. Add the authorised source issued by your service and keep those login details separate from the TiviMate account.
Open the feed you actually watch and mark that entry as a favourite. Return from the favourites list and check the station identity once.
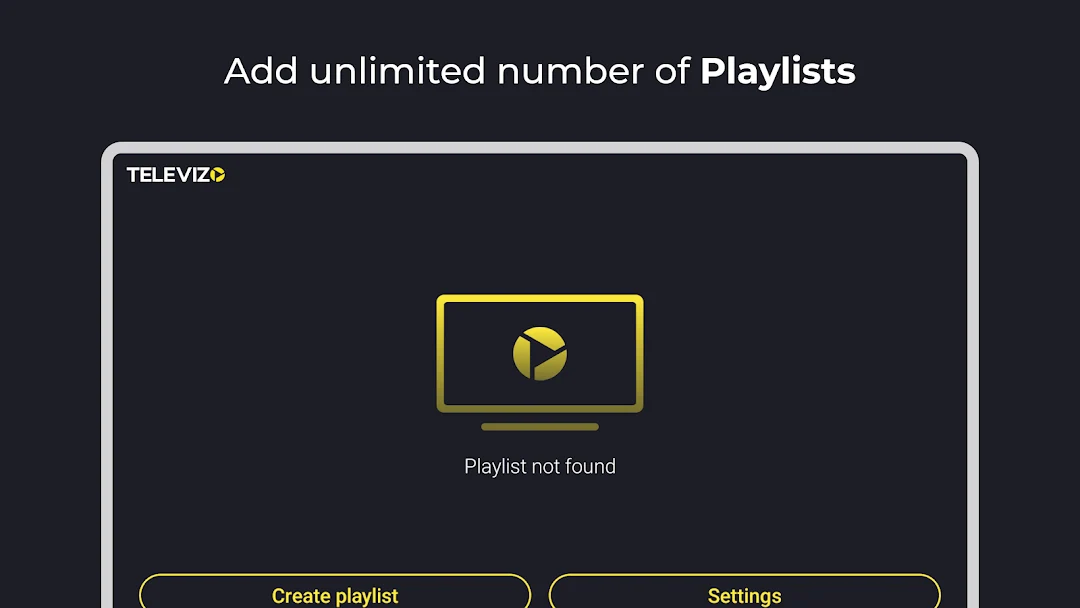
Choose Create playlist, then use the source type your provider supplied. Settings opens the player’s preferences.
Use the Televizo account associated with the purchase. Signing into a Google account alone does not restore the player’s Premium status.
If your edition includes backup and restore, make a backup on the working device. Test a restore on the replacement before clearing the original.
Play each licensed feed, identify the desired region or language and mark that exact entry as a favourite.
Check the current group and sorting before replacing the playlist. Compare one station you recognise with the same source on the old device.
Pick a provider-documented archive channel and open a recently finished programme. Compare the announced replay window with what the player offers.
Identify whether the service supplied a playlist URL, an Xtream login or another supported format. Use that type on one device and check a single channel before adding more.
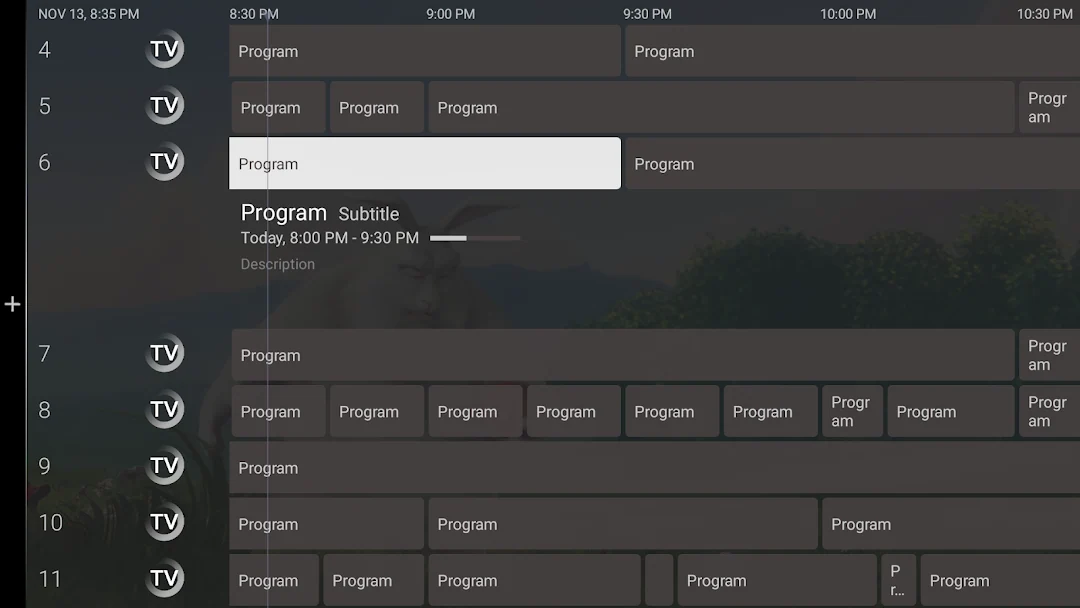
Open the TV Guide for your own source and compare the current listing with the channel on screen. A populated guide gives you timing information, separate from playback.
Search the title in IPTVX and open the detail screen. Compare the year and whether the result has an episode list before pressing Play.
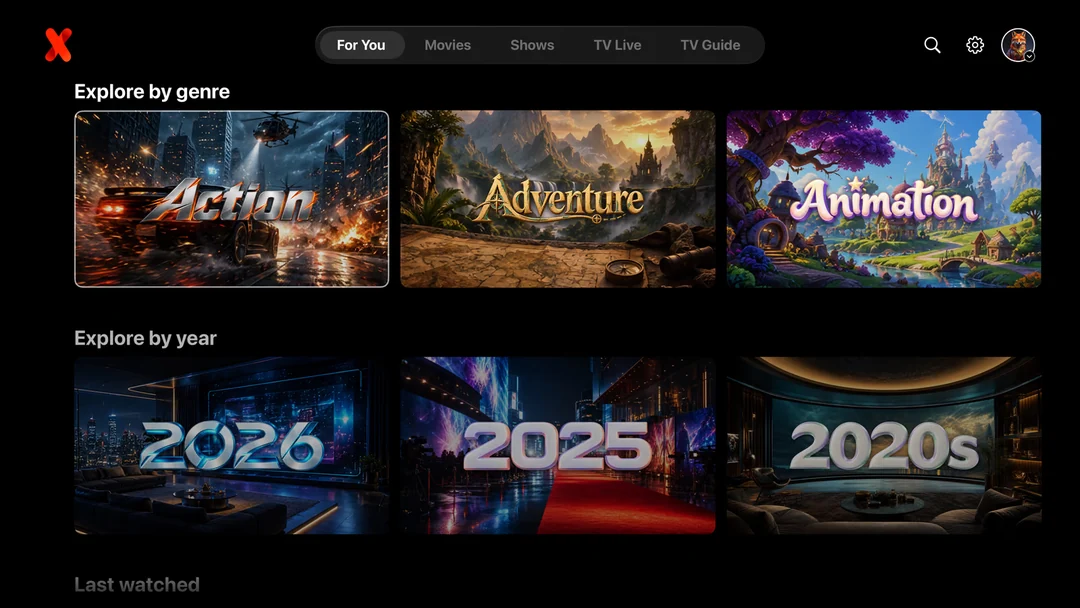
Use Explore to browse a genre or year, then inspect the title details. The rows describe the library you added on this device.
Bring up the live player controls and compare the current programme with the guide alongside it. Keep the exact channel selected while diagnosing a schedule mismatch.
Compare one identifiable channel and one on-demand title on both devices. Check the active source in each app before changing your provider account.
In Settings, open Content and External playlists, select Add, then enter the title and URL and save. Find the newly named tile on the main screen.
Go to General in the app settings and choose Get code. Enter the temporary code only in the publisher’s own playlist editor.
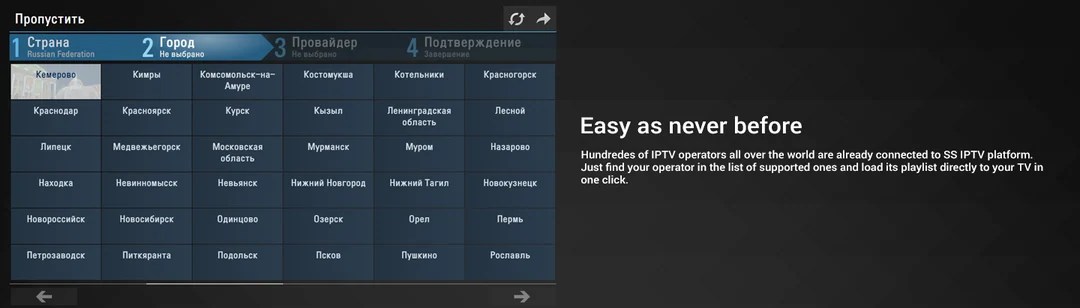
SS IPTV replaces the existing internal list when a new one is uploaded. Keep your previous M3U file privately before saving the replacement.
Save the playlist using UTF-8, then upload it again. Compare a station whose name contains a distinctive accented letter.
Keep the provider’s live link as an external playlist where supported. Use the internal upload route when you have an M3U file to send from the editor.
On Sparkle TV Plus, pause an authorised live programme briefly, resume it and note where playback restarts. Use one channel and the same source throughout.
On a supported Plus setup, record a short item you are permitted to save. Open the recording, play its first and last seconds, then confirm its location.
Find a channel with a recognisable programme, open the programme detail and compare it with live playback. A visible programme grid and a playable stream are separate tests.
Confirm your edition supports multiple sources, then give the newcomer its own name. Test one channel in each source before sorting a combined view.
Sparkle TV lists multiview under Plus. Check that your source permits concurrent streams and test two channels before adding more screens.
The M3U supplies the playable list. XMLTV supplies programme data. Keep both associated with the same source and check one current channel.
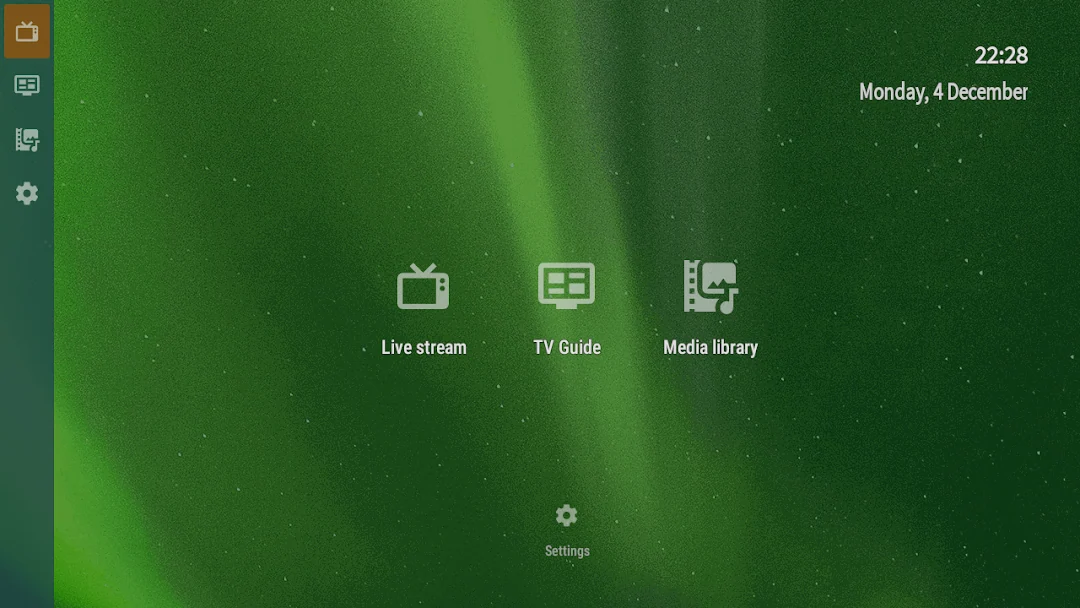
The publisher’s TV view shows Live stream, TV Guide and Media library. Choose the live tile for direct playback or the guide to inspect scheduled programmes.
Open the programme list for a channel the service archives. Choose an earlier item the provider still retains and check whether playback starts at the expected point.
Ask the service whether it records the exact feed and how long it keeps it. Compare two recently finished programmes inside that window.
Use the live area for a channel currently broadcasting. Use the media library when looking for on-demand items supplied with your own source.
Note the channel, local time and scheduled start of the programme. Compare the beginning of the previous listing to see whether the archive and guide disagree.
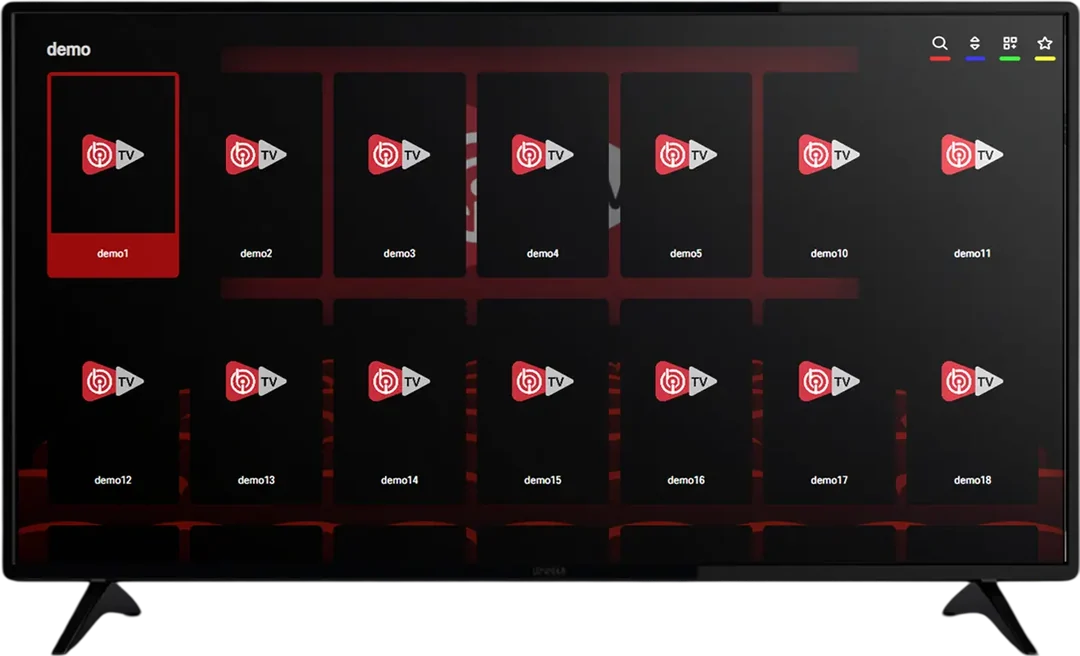
Read the publisher or setup address displayed by the installed app. Use the matching edition’s own device portal for its MAC ID and Device Key.
Use the MAC ID and Device Key displayed by that installation. Keep both private and close the form before capturing a public support image.
Use an authorised playlist from your service with the installed edition. Confirm one channel opens before treating activation as a playback test.
Record the installed edition and account recovery method privately. The replacement produces its own device identifiers, which the publisher or operator may need.

SmartOne instructs users to add their own playlist or server details for the correct TV and reload the app. Check the assigned device entry first.
SmartOne says a reset removes local app data including accounts and favourites. Preserve the source and recovery details privately before following its account migration procedure.
Read SmartOne’s existing-device procedure and identify the exact TV first. Have the current playlist available before resetting and adding it from the new account.
Compare the intended TV identifier with the entry you edited, then reload SmartOne on that TV. Pick one changed channel to test the update.
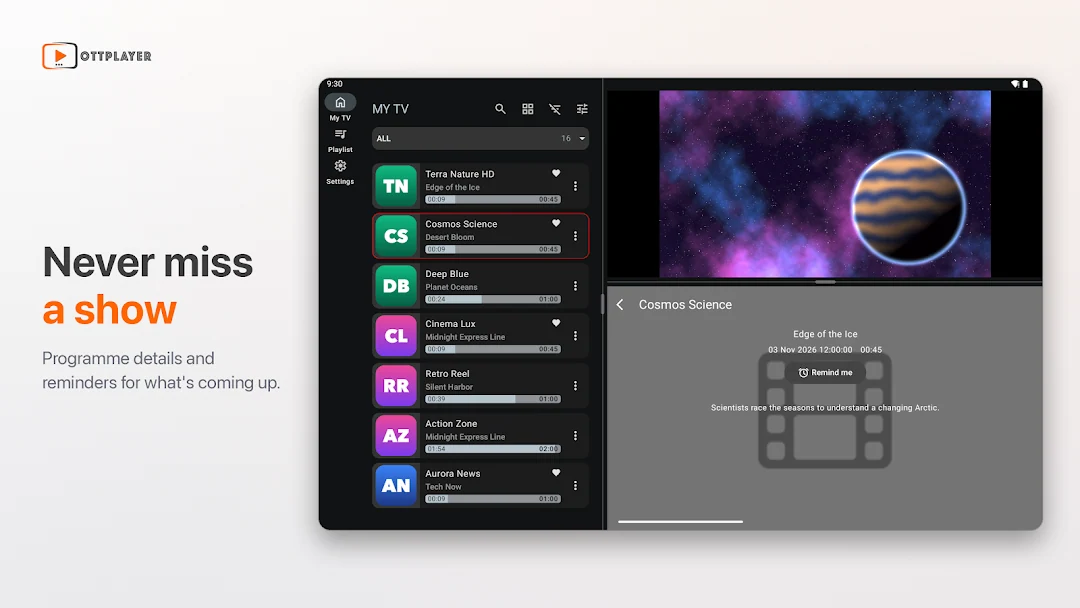
In OttPlayer’s web account, associate the intended device with the uploaded playlist. Reopen the app on that TV and check an identifiable channel.
Use the M3U8 playlist provided for your authorised service. A programme guide file on its own has no channels to play.
Choose a station unique to the intended playlist and open it on that TV. Check the source assignment if a different region appears.
Open the programme detail, note its station and start time, then compare those with what is currently airing on the same channel.

Look in your recordings for a job you scheduled. Compare that with a finished programme offered through the guide’s catch-up function.
Schedule a short recording you have permission to make, let it finish, then play the saved item. Confirm where the recording is stored on this setup.
Open the EPG for the channel and compare the adjacent listings with its announced schedule. Check feed and time zone when titles line up one slot early.
Check how much archive the source makes available for that channel. Test a recent entry before concluding that the player cannot replay anything.
Follow UHF’s publisher link to the App Store, check its supported Apple platforms and compare the seller with the installed app.

In desktop VLC, open Media and choose Open Network Stream. Paste the private URL for your test, then keep the address field out of any public screenshot.
Choose Media and Open File to play a personal clip stored on the computer. Check picture and sound through the same display and speakers.
Use a short scene with a clear spoken phrase. Adjust subtitle delay in small steps and replay the same line to check the direction of the change.
Note the current hardware decoding selection in Input / Codecs. Change it for one repeat of the same authorised video, then restore it if playback gets worse.
Use Open Disc from VLC’s Media menu and verify the selected drive. Start with one chapter you can identify before diagnosing the display or amplifier.
Open a saved playlist file with Open File. Open Network Stream is the route for a network address. Check which input you received before pasting anything.

Compare the playlist’s tvg-id with the channel id in the corresponding XMLTV entry. Check one exact identifier before changing the whole guide mapping.
Illustrative pair: playlist tvg-id="station.example" ↔ XMLTV channel id="station.example".
Open Channel Manager in the PVR settings and change the channel’s active state. Reopen the guide and check an adjacent channel to confirm the intended entry moved.
Reproduce the problem once with logging enabled and note the time. Check the log for credentials and private playlist URLs before sharing a redacted extract.
Check that the channel list still plays, then inspect the XMLTV source and its matching IDs. Replacing the working M3U adds an unnecessary variable.
Inspect Channel Manager for controls available with your PVR client. Move one recognisable channel, save and reopen the guide to confirm the order persisted.

Wiseplay accepts W3U and M3U lists. Choose the local file or its supplied URL in the lists workflow and verify one expected entry after import.
Open a personal video stored on the device. Verify its picture and sound, then compare the network item that failed.
Treat a playlist QR code as you would its underlying link. Share it only when you are entitled to share that source and the recipient should have access.
Use the direct video route for a single authorised media URL. Use the list import workflow for a W3U or M3U file containing several entries.

Follow the publisher’s receiver instructions for that platform. Put the phone and television on the same network, then choose the intended receiver in the phone app.
Choose a short personal video already stored on the phone. If it reaches the TV, repeat the test with the original permitted source.
Select a permitted video the app detects and watch for the receiver to open it. A loaded web page confirms only that the phone could reach the page.
Select the receiver with the matching device name and watch for the TV to change screens. Give support the receiver platform and where the handoff stopped.
Open the publisher’s Apple App Store entry and confirm the title and supported device. Match the installation to the service’s instructions before entering credentials.
The publisher’s iPad example shows an empty login form. Use only the account details issued for your authorised service, entered on your own device.
Check one item inside each section your account includes. Let support know which section opened and which did not. Keep credentials out of the screen capture.
Search the App Store directly on the Apple TV and compare the seller with the official listing. The image here identifies the app brand.
Ottrun describes XCIPTV as brandable. Read the publisher and exact app version on the installed device before assuming the stock player menus apply.
Try Live TV, EPG, VOD and Series where your source includes them. Record the first section that fails while another still opens.
Identify the device and backup you intend to use, then preserve your current source details privately. Test one channel after the restore.
The publisher’s update screen shows separate content stages. Record which stage finished and whether a previously working live channel still opens.
Ottrun lists ExoPlayer and VLC. Where your edition exposes player selection, compare the same authorised channel in both and record which engine was active.
IPTV Extreme Pro lists EPG alias management. Compare the affected station with its source identifier before changing a mapping, then refresh one known channel.
Check the EPG update setting and make a note of the time. Compare a channel with a known upcoming programme before and after the refresh.
Use the app’s backup option on the working device and record its location privately. Restore to the replacement and test the original channel order.
Test a short permitted programme using the timer and verify the saved duration afterward. Recheck the device clock if the start is offset.
Open the player controls on that channel and note its selected audio track. Try another track offered by that stream and record which language actually plays.
Create or select a named profile in StbEmu and follow the developer’s portal setup. Keep the previous working profile intact while testing a new one.
Confirm the service supports its documented set-top-box portal workflow. Ask for the correct account registration and device profile before testing.
The developer describes advertising as the main difference between free and Pro. Check which package is installed before following purchase or troubleshooting advice.
The emulator’s own settings and the service’s portal are separate interfaces. Open the app menu and note which screen contains the failing control.

Give the device a name tied to its room and test one small change on that entry. Check it on the physical TV before applying it elsewhere.
Compare the selected channel’s name and current programme with the source schedule. Take a private note of both before changing the assignment.
Return that device to its recorded original assignment and check one familiar station. Leave the rest of the household on the known-working setup.
Read the MAC or app ID shown by the installed edition and enter it in the matching field. Confirm the selected television before adding a list.
The upload page offers a TV restart or the reload key, 0. Test one known channel after the list has been sent to the correct app ID.
The publisher calls for UTF-8 without a byte-order mark. Save a copy in that encoding and check one accented station name after reloading.